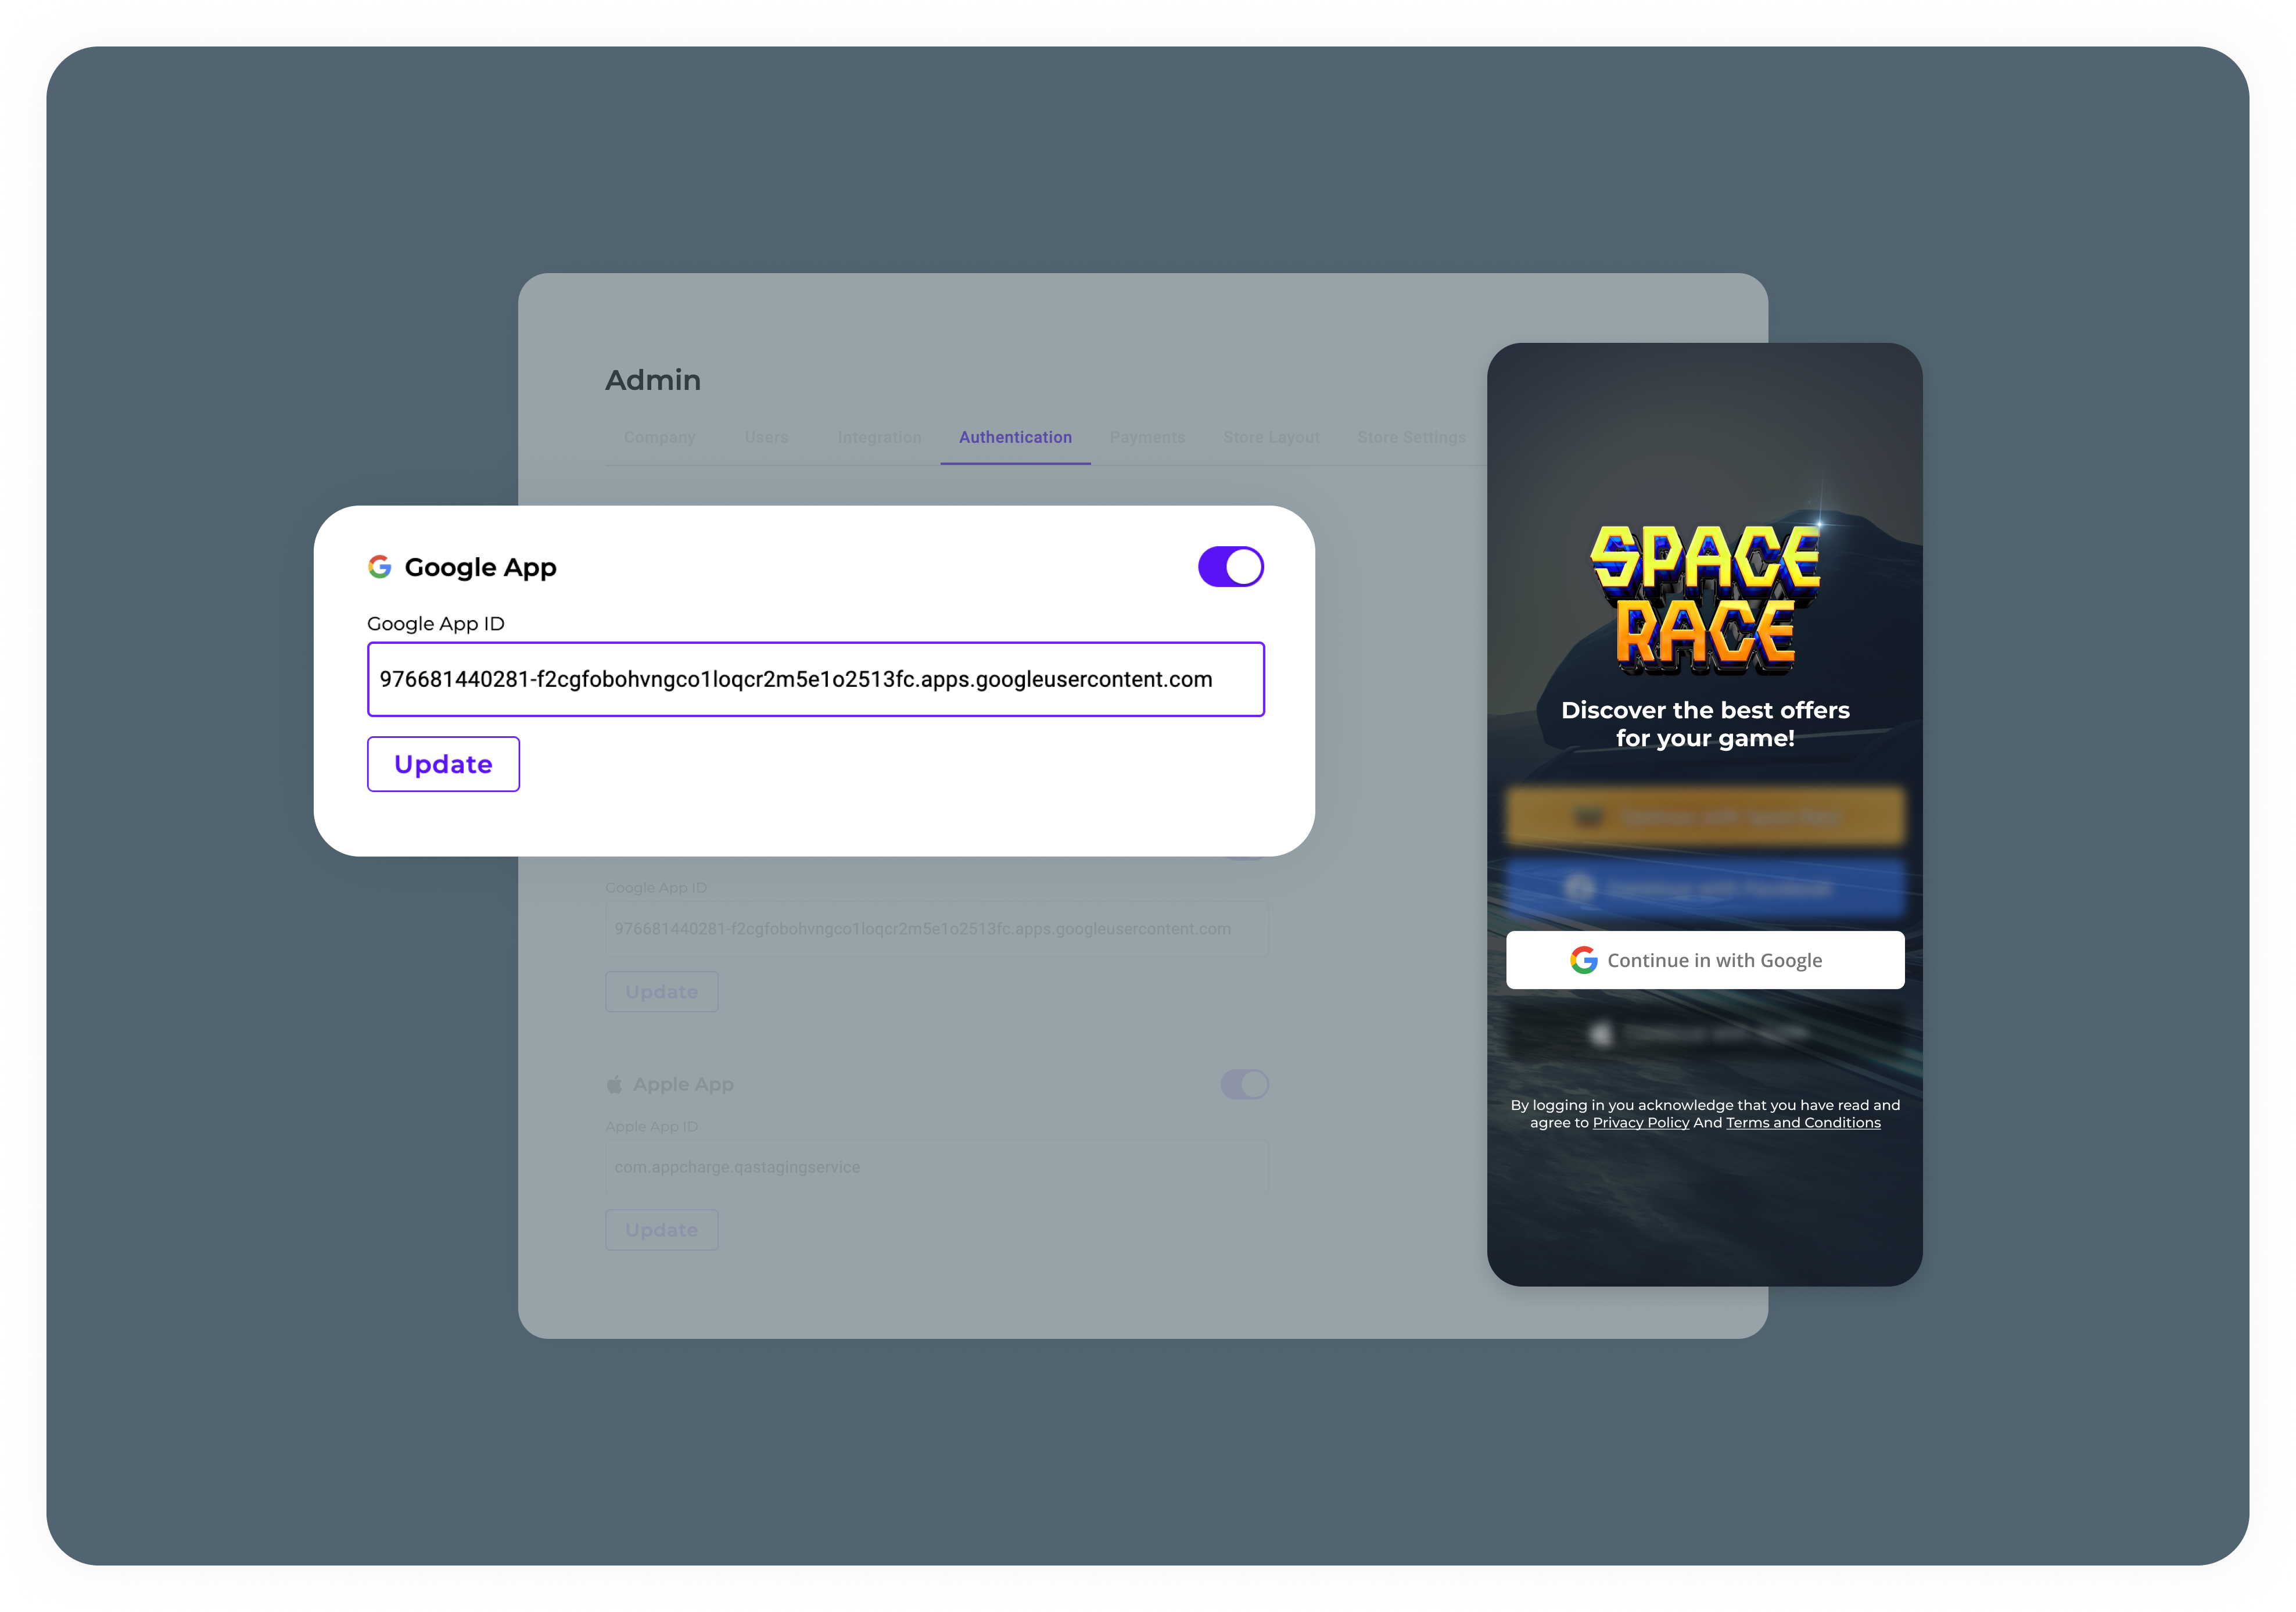
Add Google SSO
On Google Dashboard
To create a Google SSO login, follow these steps:
Create a project in the Google Cloud Platform:
- Go to the Google Cloud Console and sign in with your Google account.
- Click on the project dropdown and select/create the project for which you want to enable Google SSO.
- Enable the Google Identity Platform API.
Set up the OAuth consent screen:
- Go to the "APIs & Services" → "OAuth consent screen" on the left sidebar.
- Select your "User Type" and click "Create".
- Fill in the required fields, such as App name, User support email, Developer contact information, etc.
- Add your domain to the "Authorized domains" section if needed.
- Click "Save and continue" until you've completed all required steps.
Create OAuth 2.0 client credentials:
- Go to the "APIs & Services" → "Credentials" on the left sidebar.
- Click the "Create credentials" dropdown button and select "OAuth client ID".
- Select the "Web application" as the Application type.
- Fill in the required fields, such as the "Name of the client".
- Add your Authorized JavaScript origins (your web app's domain) and Authorized redirect URIs (where users will be redirected to after successful authentication).
- Click "Create" to generate the client credentials. Keep the "Client ID" and "Client Secret" as you'll need these in your frontend and backend configurations.
On Appcharge Dashboard
- In the publisher dashboard, -> Admin area -> authentication tab, activate Google App and add the Google App ID
- The Sign in with Google will be presented in the Appcharge webstore
- Once a player uses this auth method, a Player Authentication webhook containing the token generated by Google will be sent.

Updated 5 months ago
