Set Up Language Localization
Overview
The Localization feature allows publishers to offer players a customized experience by displaying the webstore and checkout in the player's preferred language. This feature is fully configurable via the Appcharge dashboard and can be managed easily by the publisher, offering flexibility in static and dynamic text translations for various components such as offers, buttons, product names, and more.
Publishers can add new languages and control their visibility using a toggle, ensuring the language only appears in the webstore once translations are complete. By default, all text in the webstore and checkout will be displayed in English until translations for other languages are uploaded. Players will have the option to select their preferred language from the available options at the bottom screen menu.
High-Level Flow:
- Publisher Adds Language(s):
Publishers define the display name, language code, and the countries for the language they want to localize.
Note: The language will be added in an inactive state by default. Use the on/off toggle to activate it once translations are ready. - Publisher Downloads Translation Files:
Download CSV files for static content (e.g., buttons, footer text) and dynamic content (e.g., offers, product names).
Note: The CSV file will be downloaded with the new language added. - Publisher Updates Translations:
Fill in the translations for each string in the relevant language column for both the static and dynamic CSV files.
Note: Default language values cannot be edited via the CSV file and must be updated through the dashboard. - Publisher Activates the Language:
After uploading translations, the publisher can activate the language using the toggle in the Manage Languages section. Until activated, the language will not be visible in the webstore.
Note: Languages remain inactive by default until the toggle is turned on. - Publisher Uploads Translation Files:
Upload the updated CSV files containing the translated text back into the dashboard, each in their relevant sections. - Players Choose a Language:
On the player-facing side, a language selection option is available at the bottom of the screen. The selected language is applied based on the translations uploaded by the publisher.
Note: The default language (before localization) will be determined based on the player's geolocation. - Language is Applied:
The player’s selected language is displayed in real-time in the webstore and checkout.
Best Practices:
- Testing in Sandbox: Always perform language and translation testing in the Sandbox environment before making any changes live. This will help decrease time between language addition to translation update and ensures that no errors occur when displaying the content to players.
Note: Strings that are not translated will present to English by default. - Use the Toggle Effectively: When adding a new language, use the toggle feature to keep it inactive while uploading and finalizing translations. Only activate the language when it’s fully ready to be visible in the webstore, ensuring players see the correct localized content.
- Review Translation Files: Before uploading translated CSV files, carefully review them to ensure the text is accurately localized. This reduces the risk of miscommunication or incorrect wording in your game store, ensuring players receive the intended messages in their language.
- Monitor and Update: Regularly check for new static and dynamic strings after adding new offers or products and download the latest CSV files for updating translations. Keeping translations up-to-date will improve the player experience.
Publisher Journey:
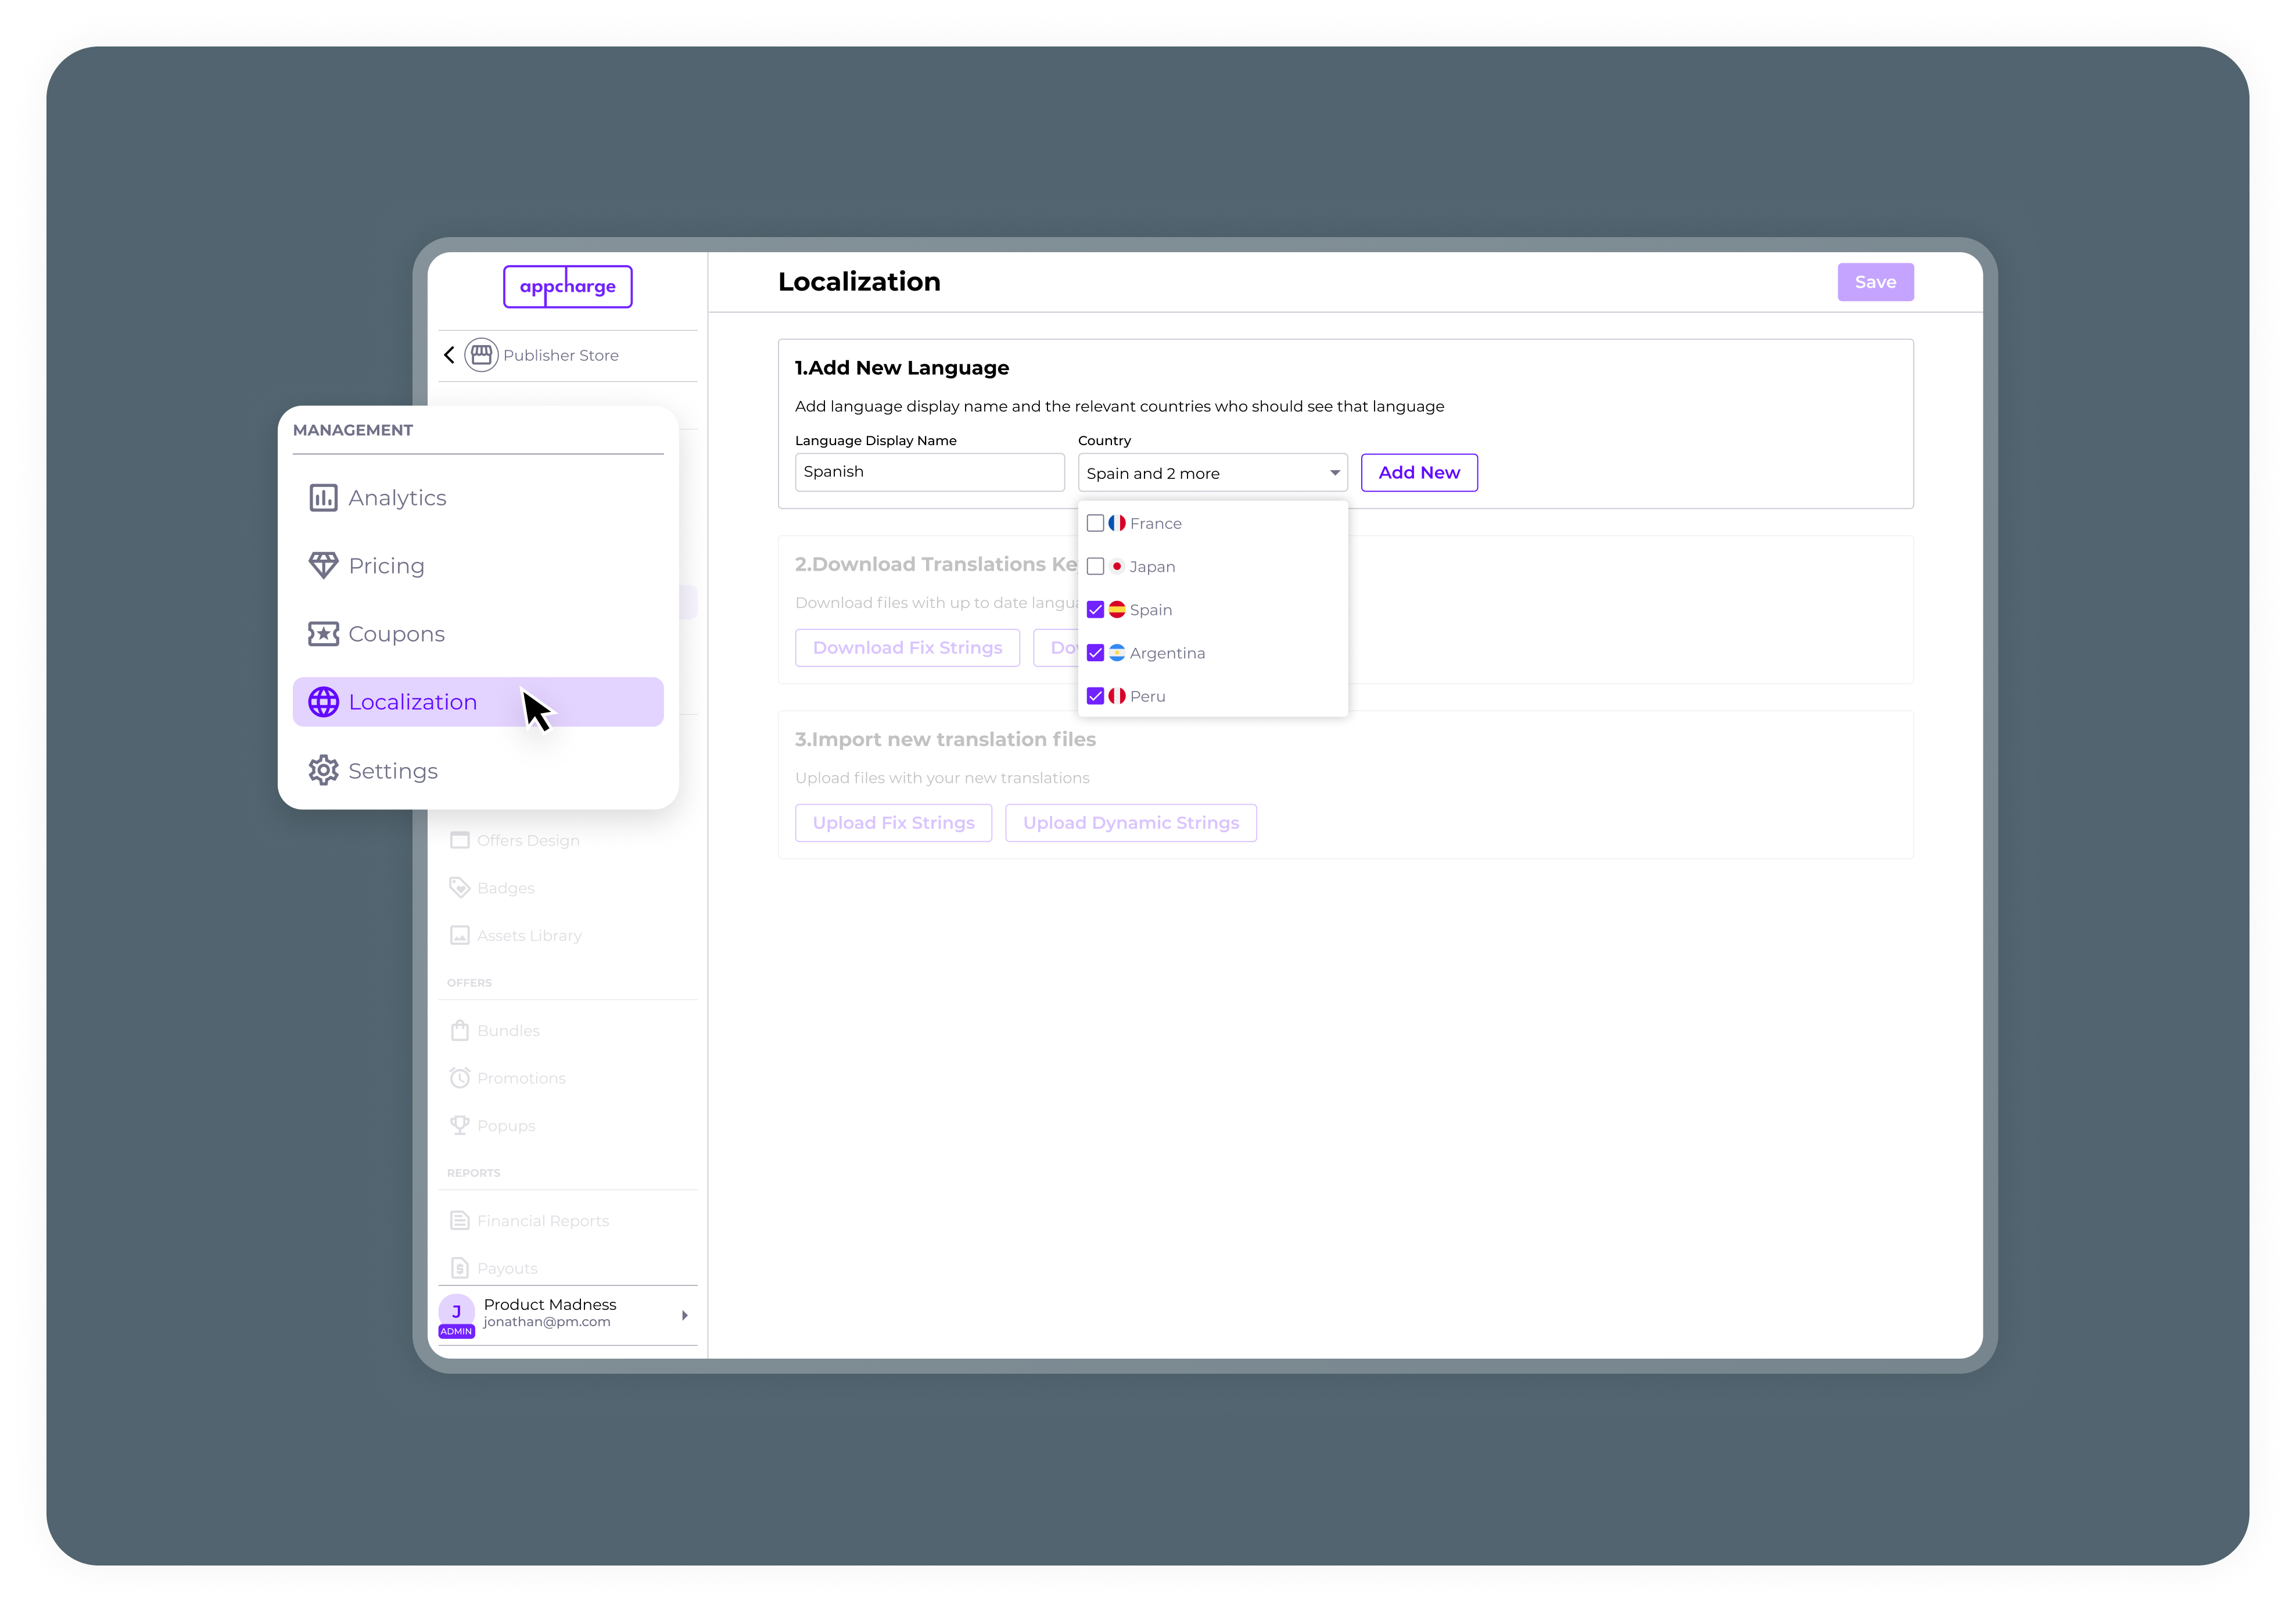
1. Adding a New Language:
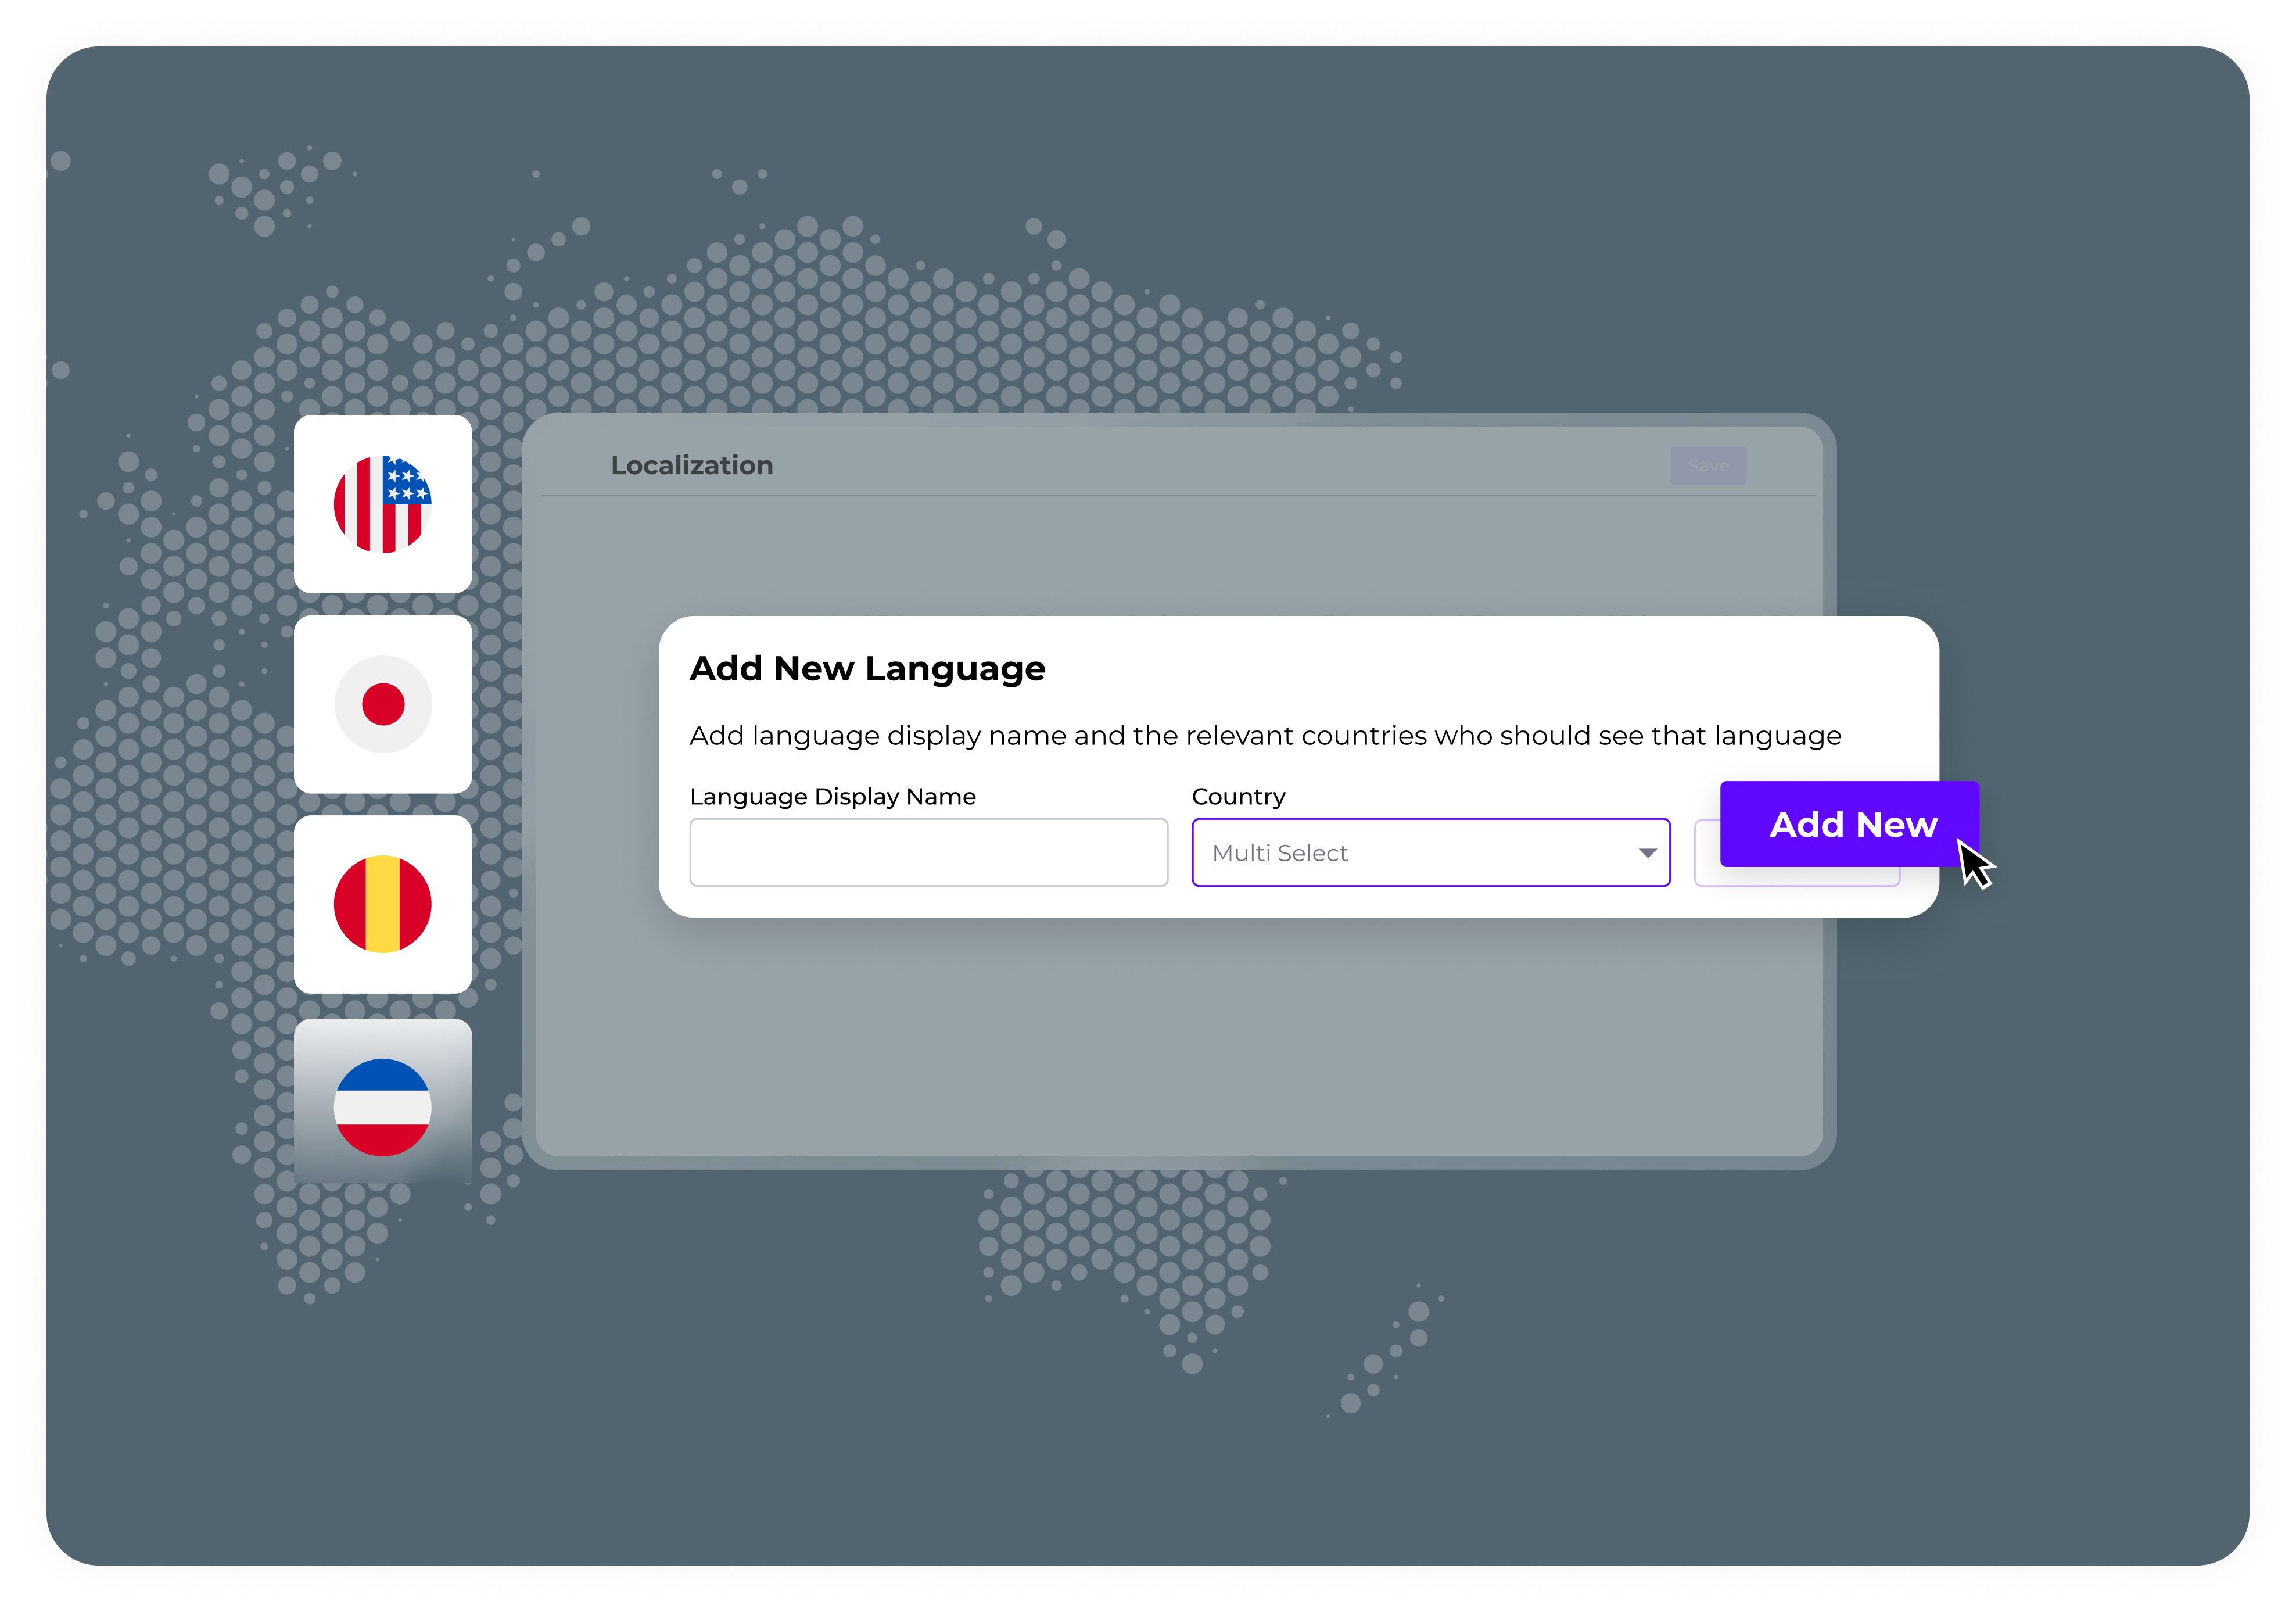
This step guides the publisher through adding a new language to their webstore and checkout.
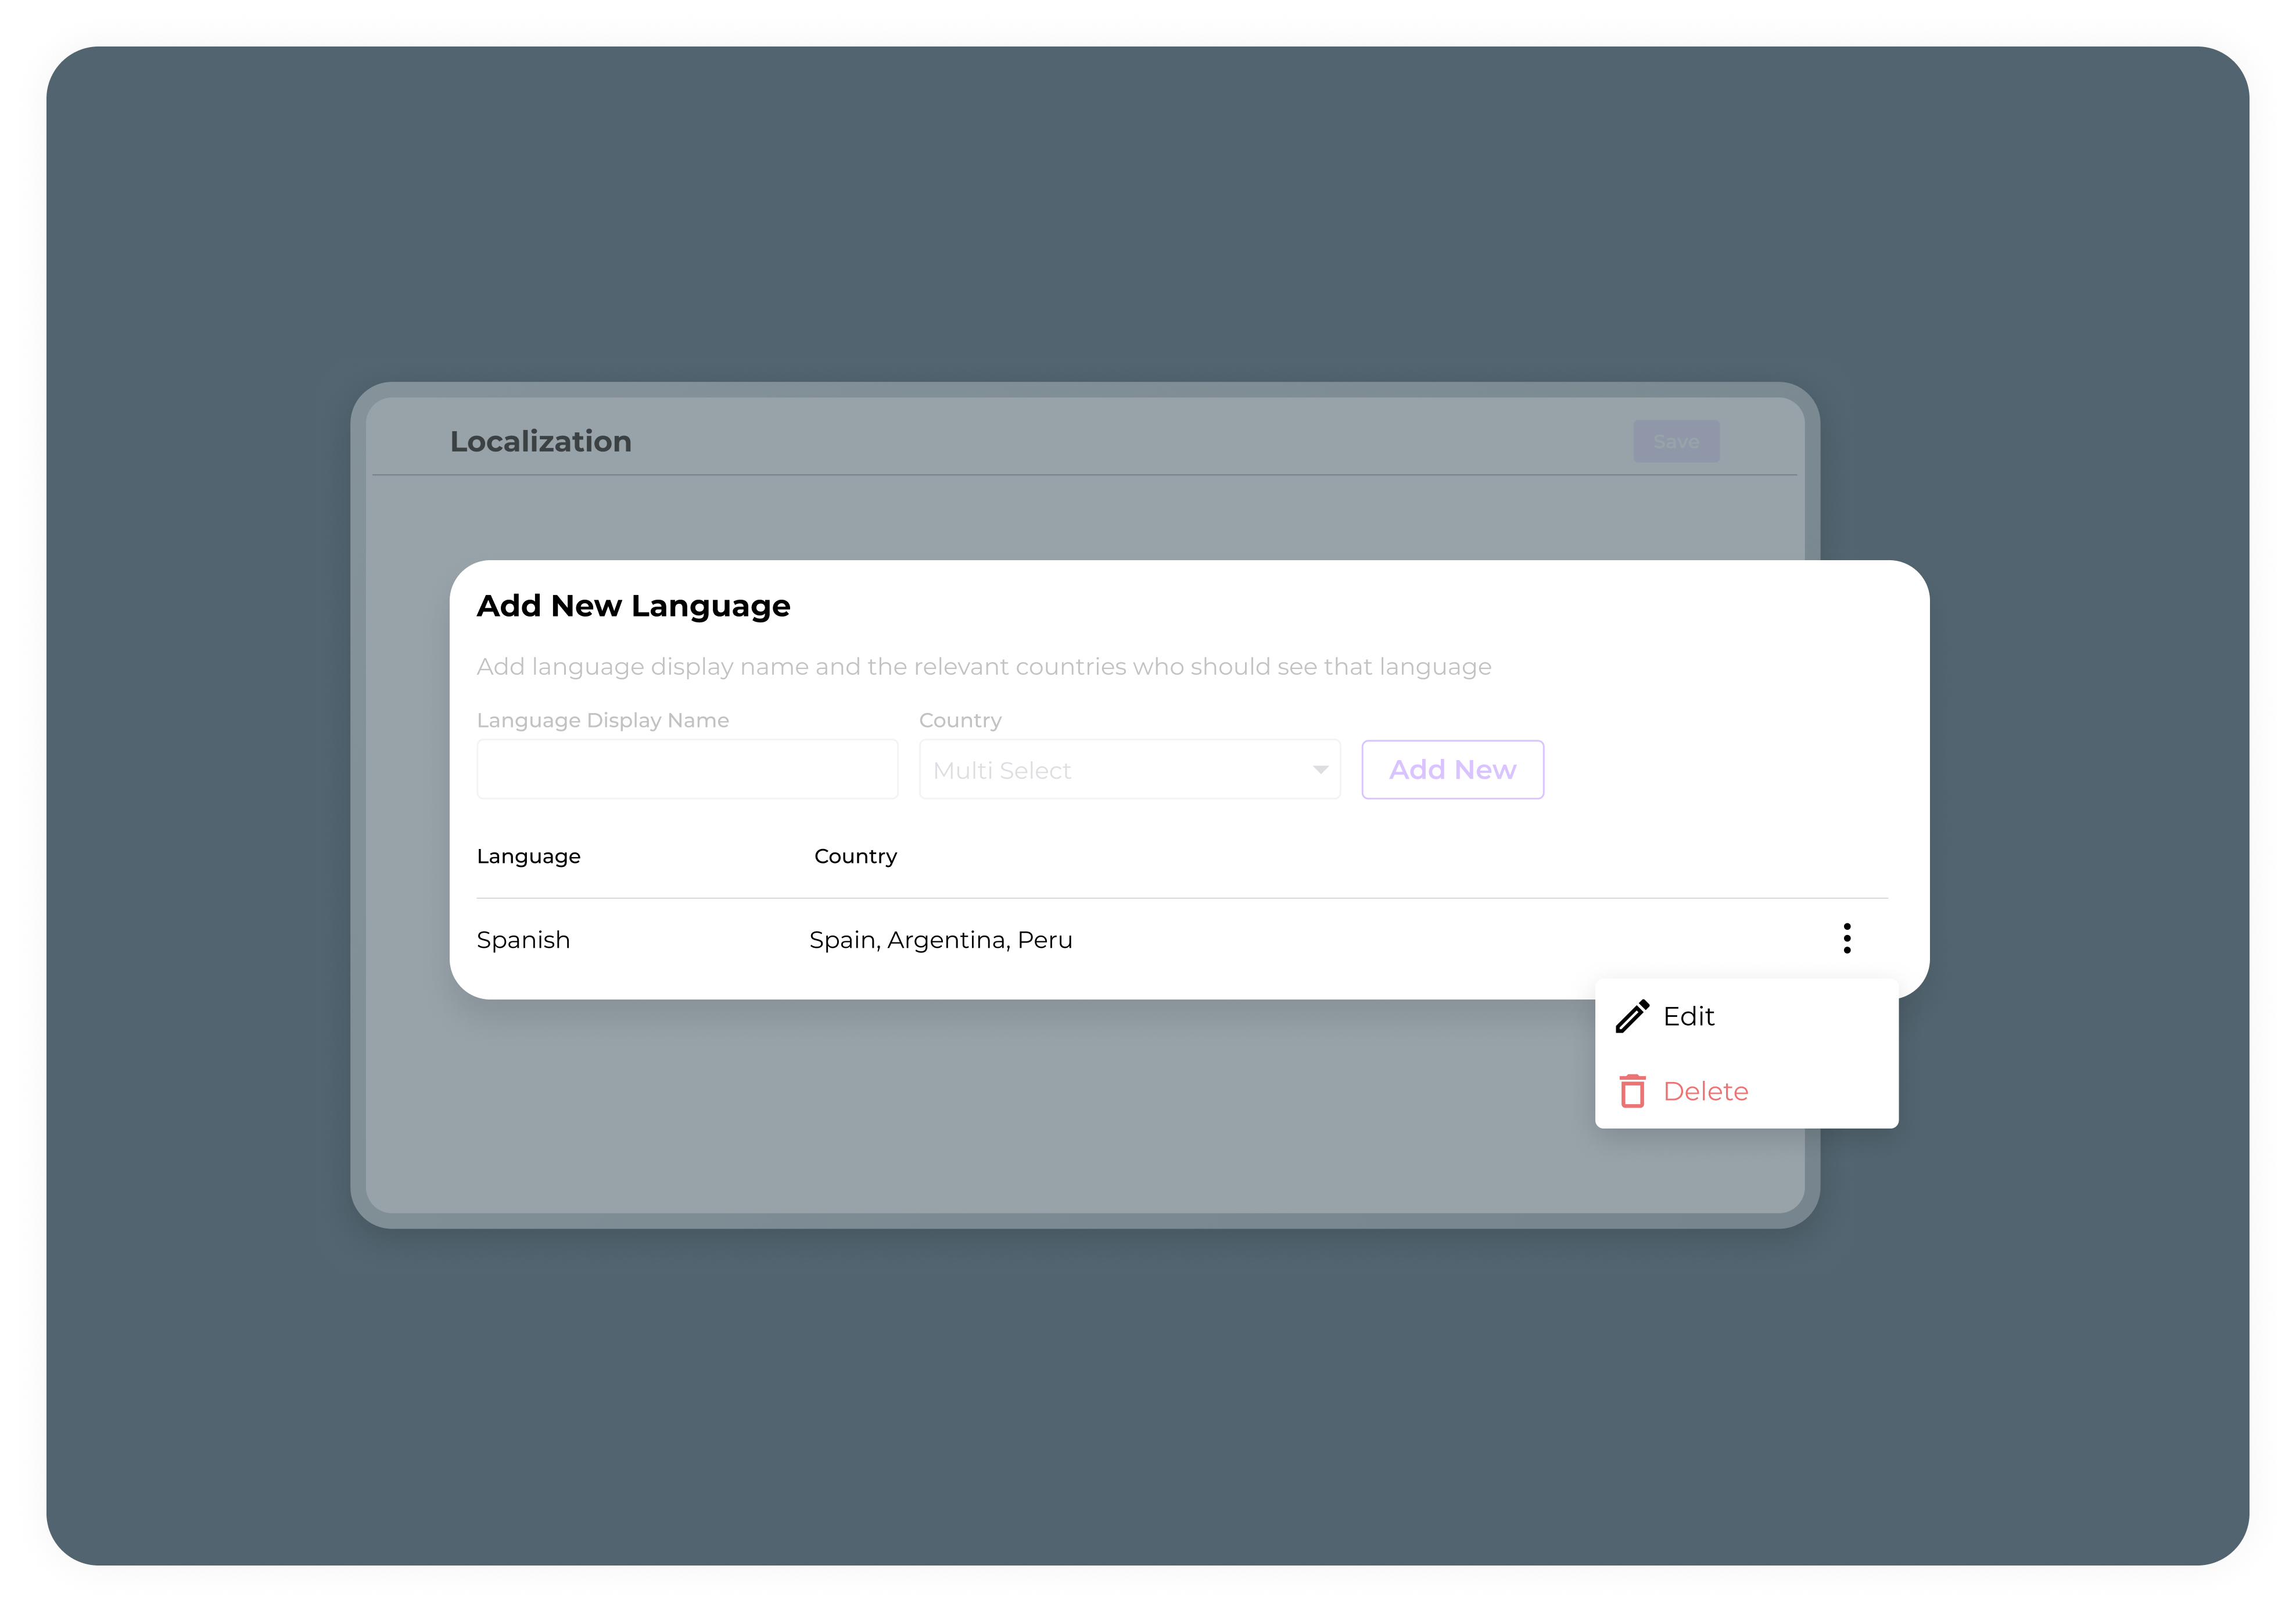
- Language Display Name: The publisher can add any display name for the language. This could be the local language name (e.g., “Español” for Spanish).
- Mandatory Language Code: Publishers must also provide a language code when adding a language. This language code is used to sync with external texts provided by the Payment Service Provider (PSP) in the checkout.
Note: The texts relevant to this step do not appear in the CSV file, but it is still required for proper display of PSP-related content. - Country: Select one or more countries where this language will be applied. A dropdown list allows the publisher to choose from available countries.
- Save Language: After defining the language, language code, and country, click "Add New" to save the language configuration.
Note: New languages are inactive by default, letting publishers complete translations before displaying them. Activate the language with the toggle. Untranslated strings will default to English. Test languages in the Sandbox first.
2. Download Up-to-Date Translation Files:
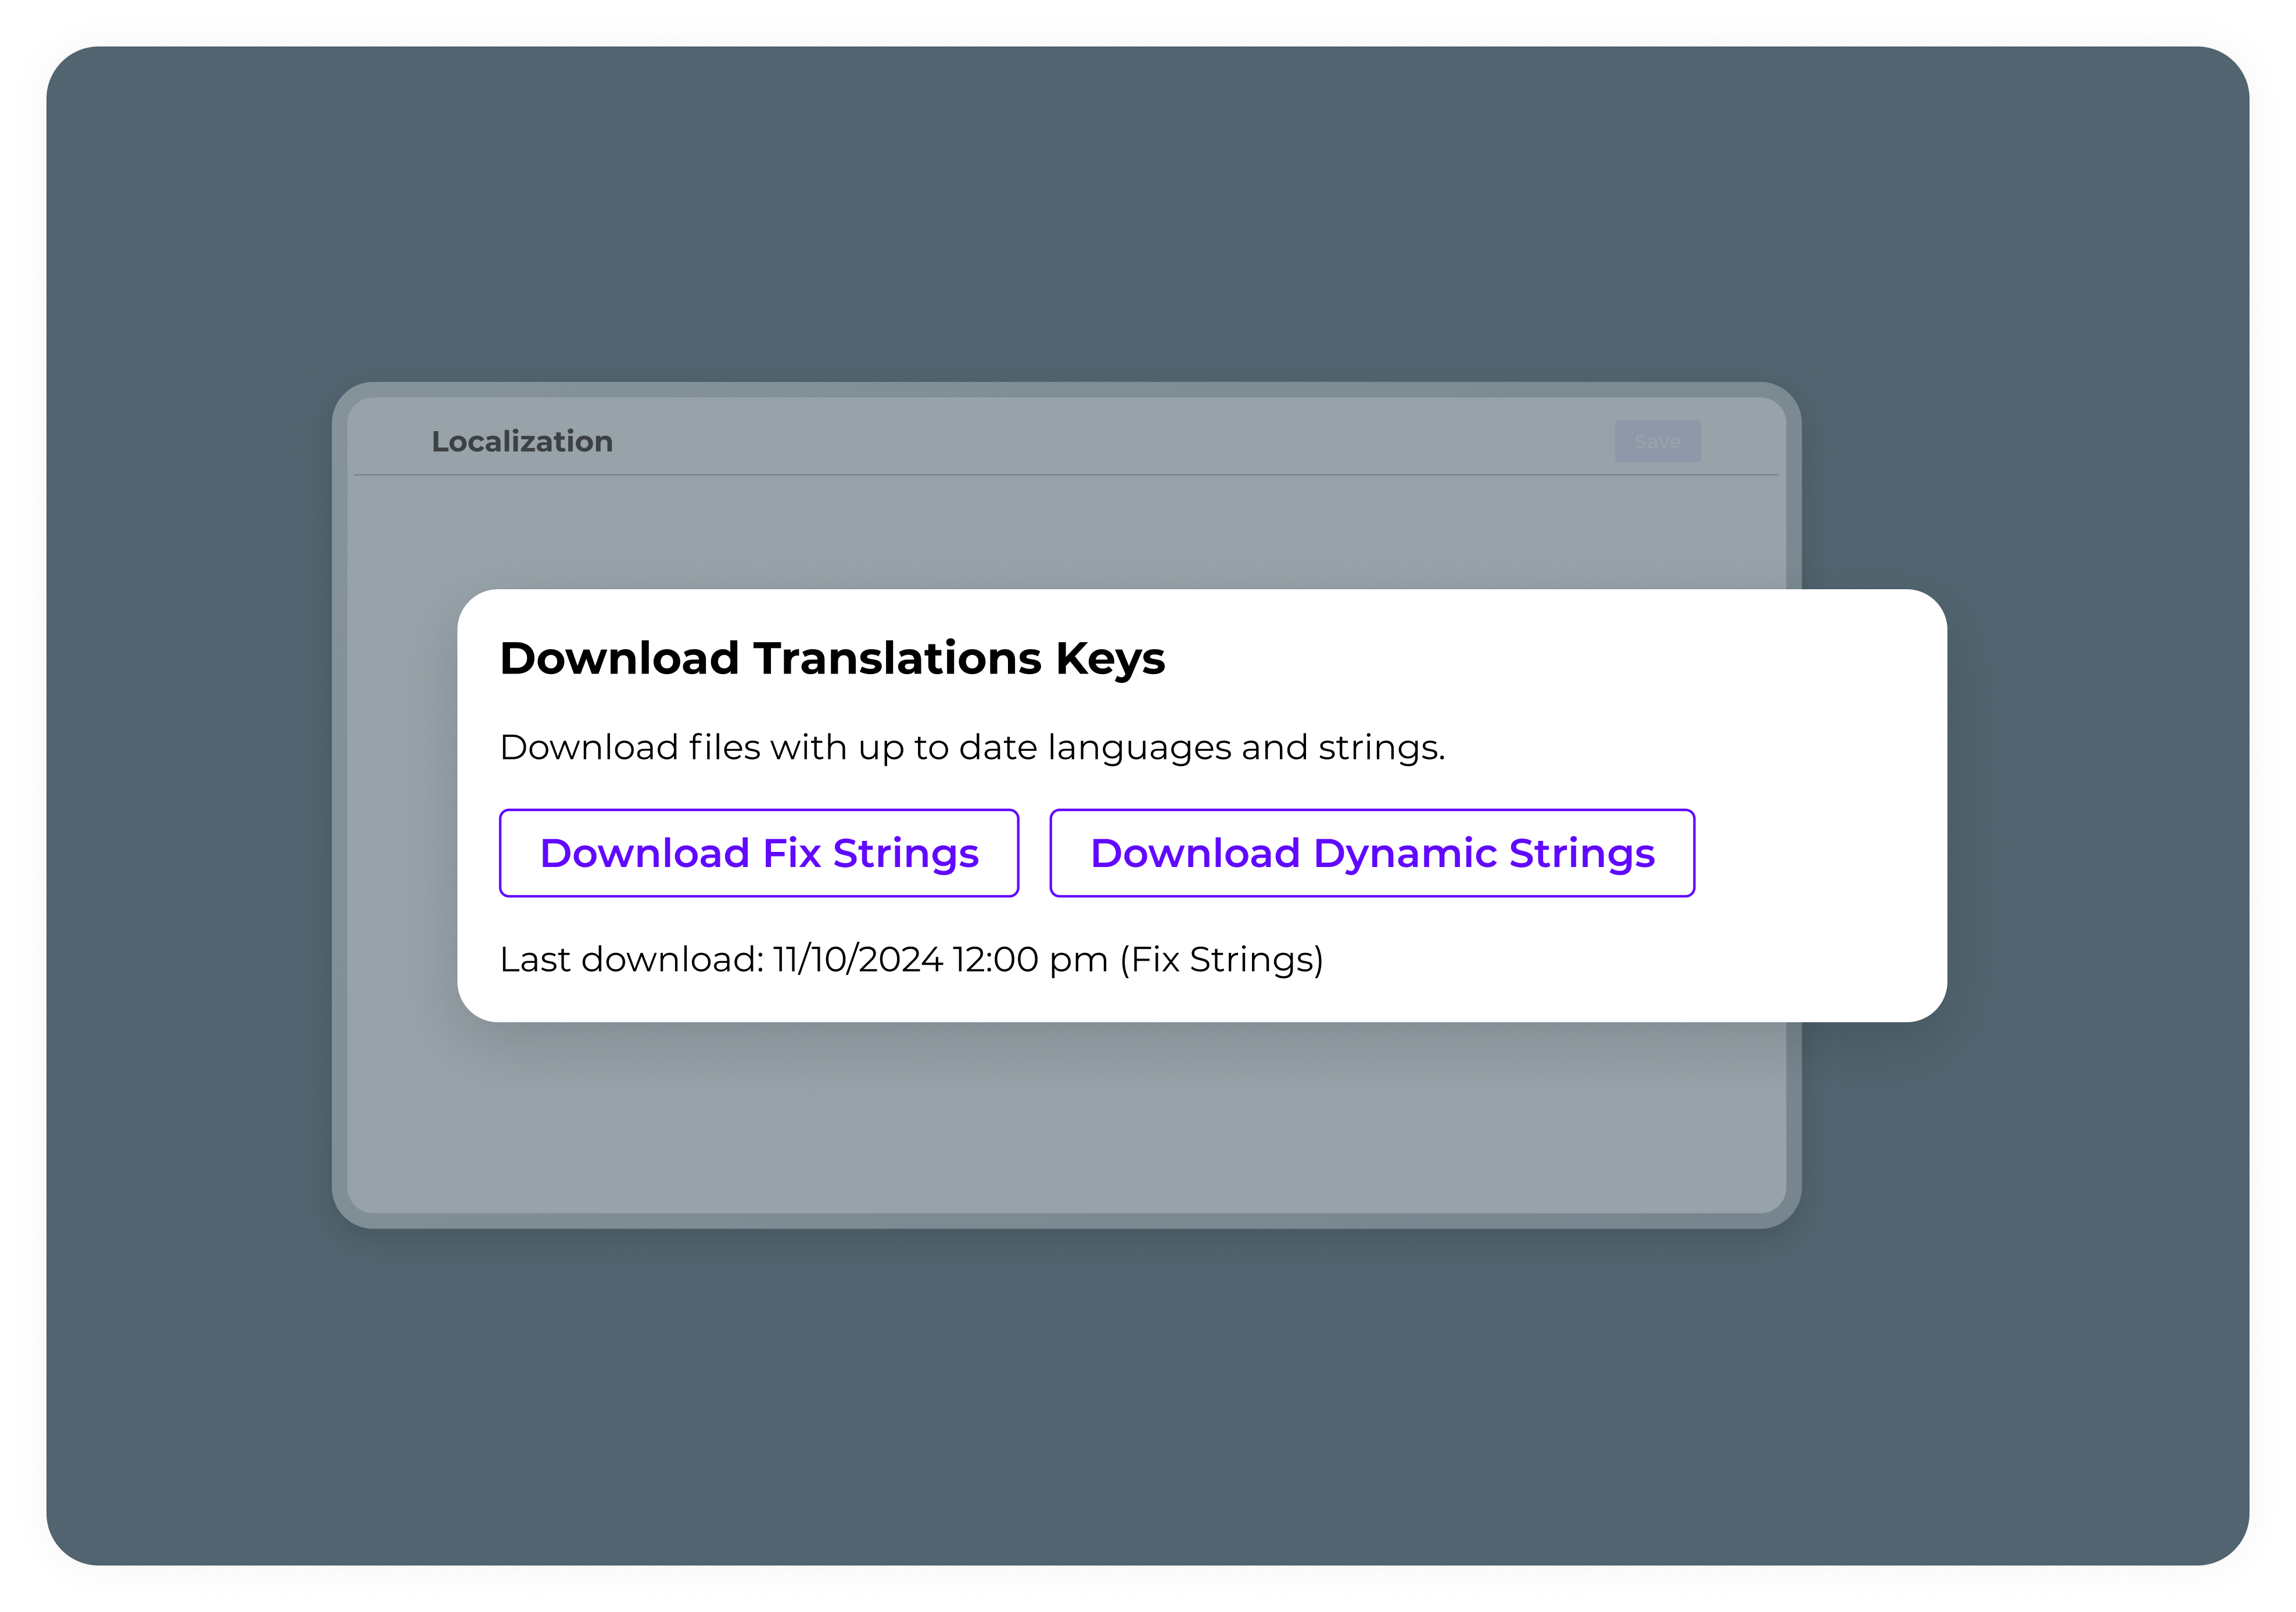
After adding a language, the publisher must download translation files to fill in the relevant text:
- Download Static Strings: Download a CSV containing static content like buttons and footer text. These static strings, such as support menu items and button labels, are predefined by Appcharge. Each key in the file corresponds to a piece of static text, and it is recommended that publishers provide translations for these in the new language to ensure a consistent user experience.
- Download Dynamic Strings: Download another CSV that covers dynamic content, including product and offer names. Each key in the file corresponds to a piece of dynamic text, and the publisher must provide translations for these in the new language.
Note: Whenever new products or offers are added, the Dynamic Strings CSV needs to be re-downloaded to capture the newly added keys.
CSV Column explanation:
- Key: The identifier for the string.
- English: The default English text.
- Other Languages: Columns for each language added by the publisher.
Note: Using the CSV files allows you to see the English display names, helping you identify which strings correspond to each key, ensuring all content is accurately localized.
Note: While the CSV files allow for editing translations in other languages, default language values cannot be modified this way. To update default language values, use the dashboard.
3. Upload New Translations:
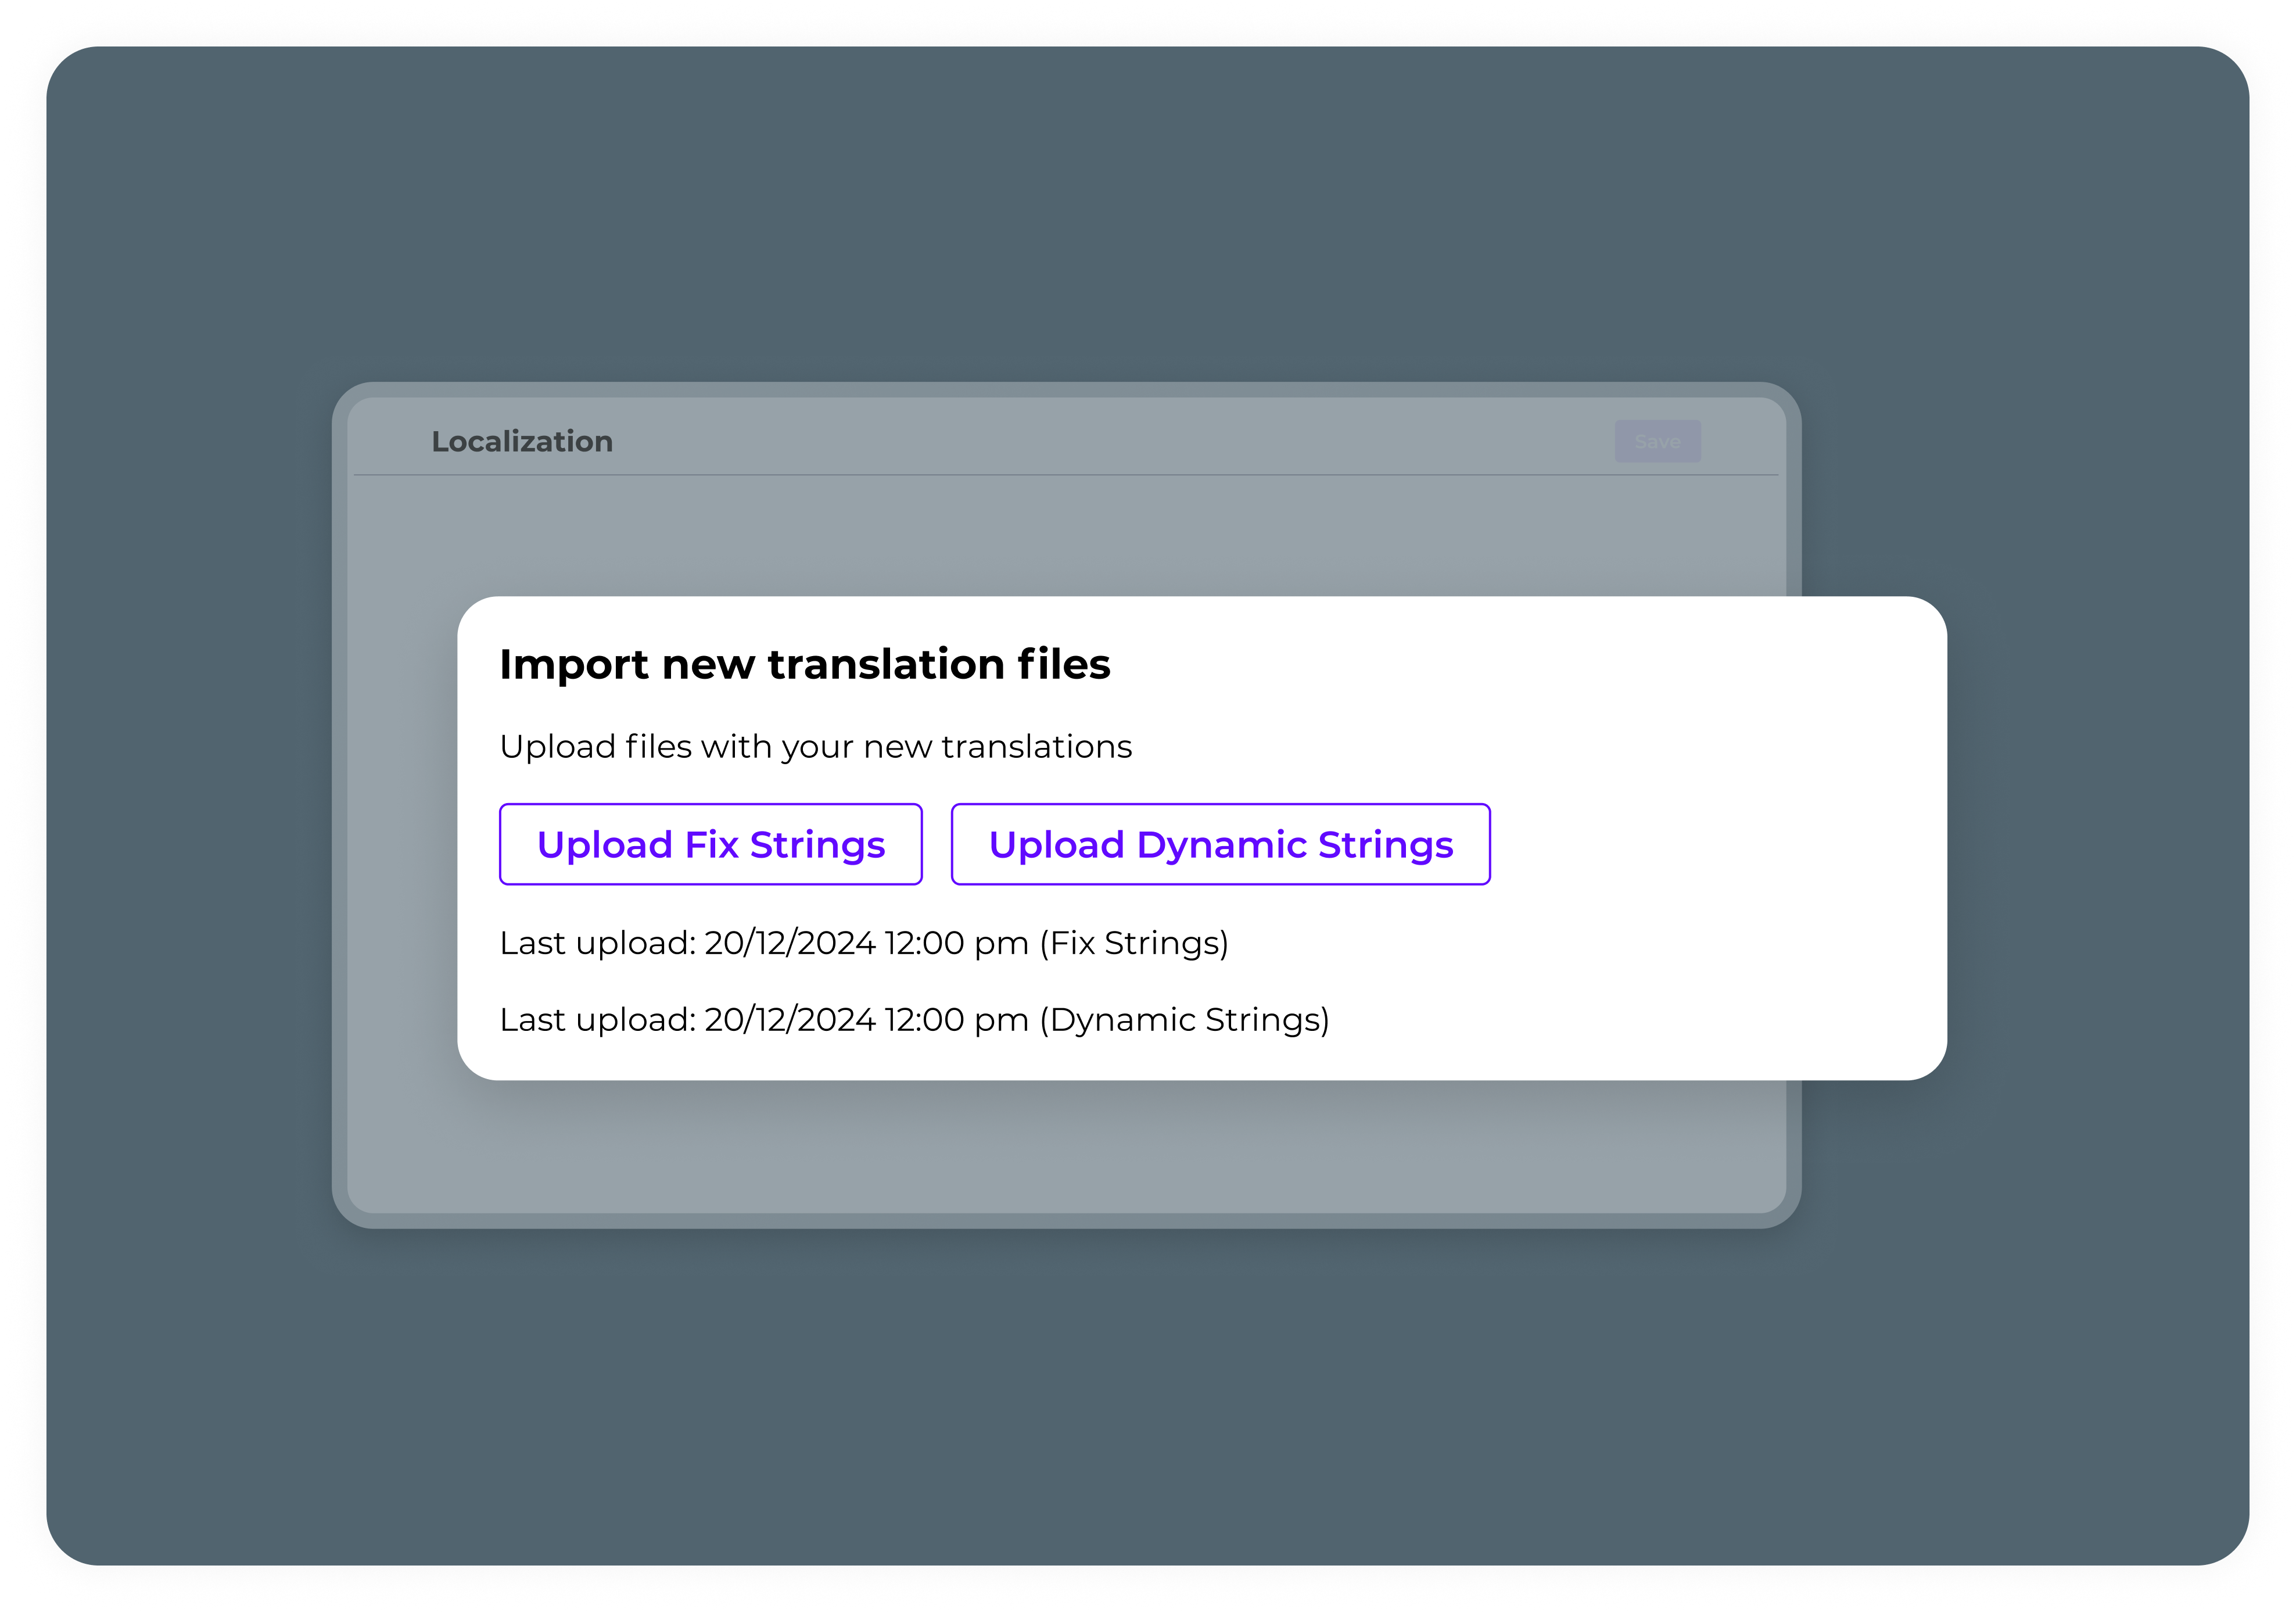
Once the translations are added, the publisher can upload the files back into the system:
- Upload Static Strings: Upload the CSV with translations for buttons, labels, and other static content.
- Upload Dynamic Strings: Upload the CSV with translations for product names, offers, etc.
4. Edit or Delete Languages
If needed, the publisher can click on the three dot menu to make edits or delete any previously added languages:
- Edit or Delete: Navigate to the "Manage Languages" section and click on the three dot menu next to the relevant language for options to edit or delete the language configuration.
- Turn Language On/Off: publishers can also use the on/off toggle to control whether a language appears in the webstore. This option allows publishers to keep languages hidden until translations are fully prepared, without affecting the CSV file.
Player Journey:
1. Language Selection:
On the player's side, the language selection option appears at the bottom of the screen, allowing them to choose their preferred language.
2. English as Default:
If no translations have been provided, the content will default to English.
3. Localized Experience:
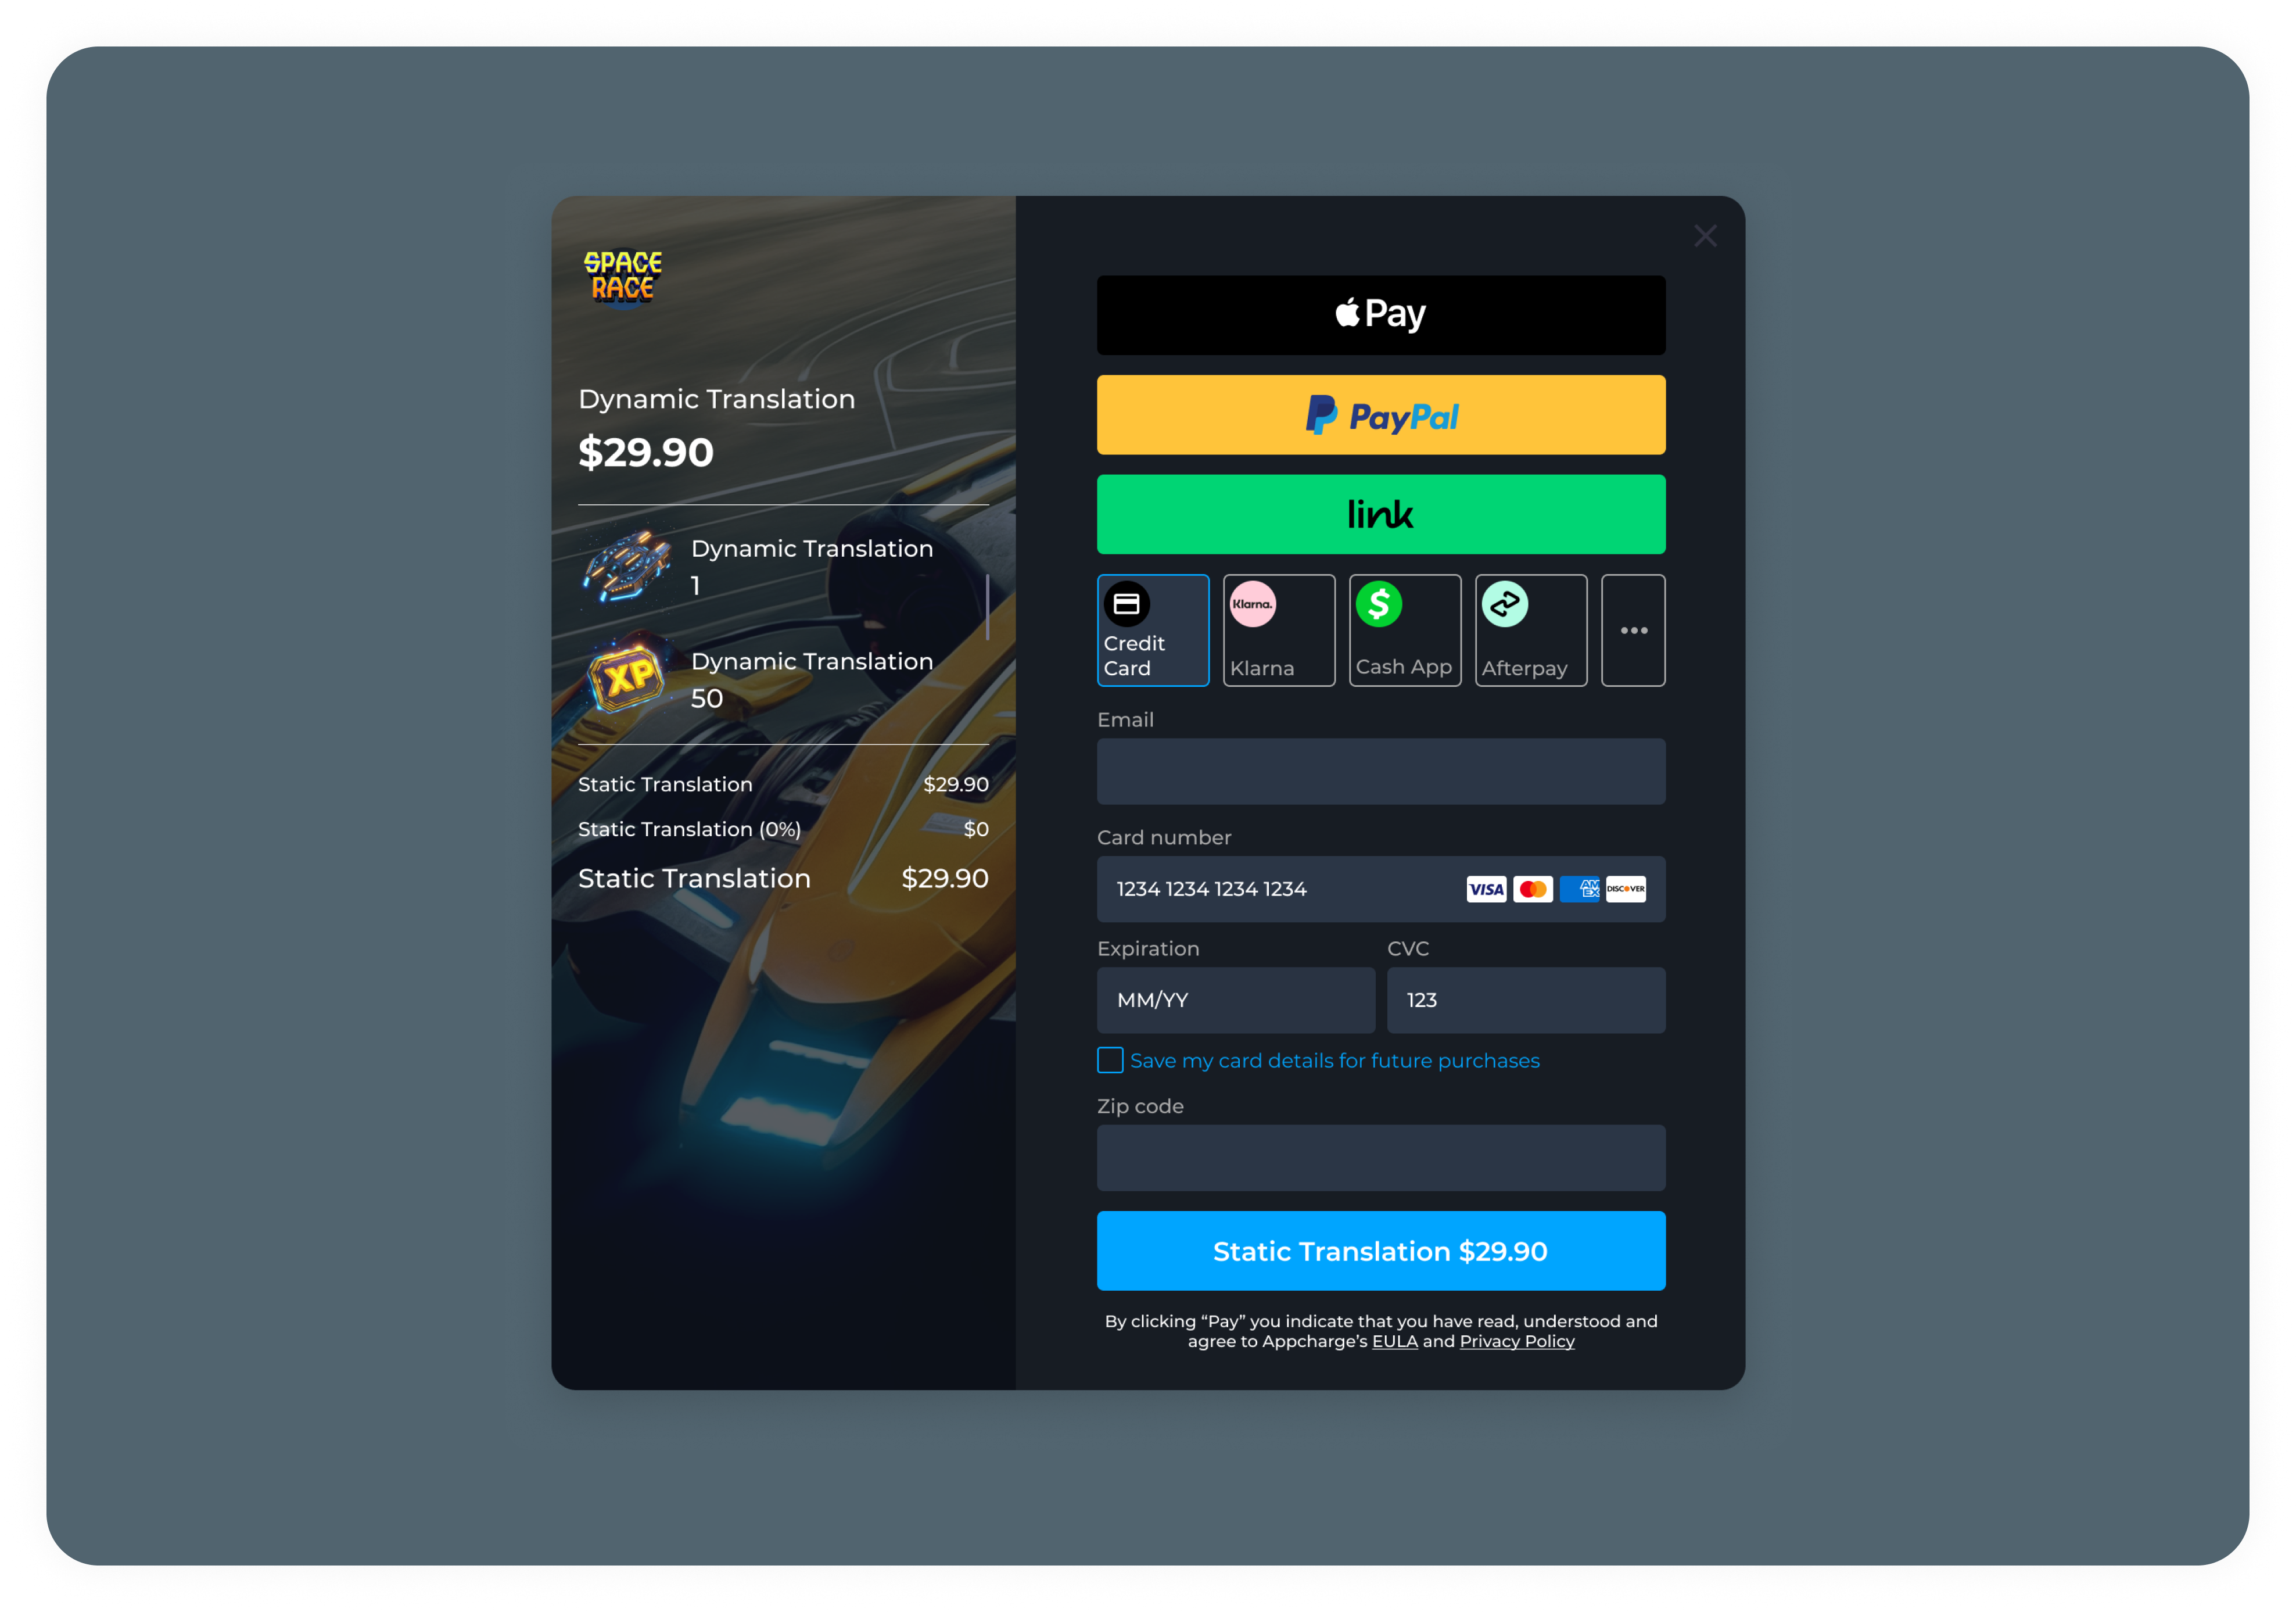
Once the publisher uploads translations, the webstore and checkouts interface updates in real time, and the player's language selection is applied to both static and dynamic text.
ie: Checkout and webstore footer with localized translation texts
Updated 5 months ago
