Add a Banner
Banners can be customized to create a visually engaging experience for players. They serve as a communication tool to inform players about anything you want, from promotional messages to important updates or visuals. There are two methods to configure banners in the Appcharge dashboard, after which you can add the configured banner to the Personalization API using its banner external ID.
Configuring Banners in the Dashboard
There are two ways to upload and configure banners in the dashboard:
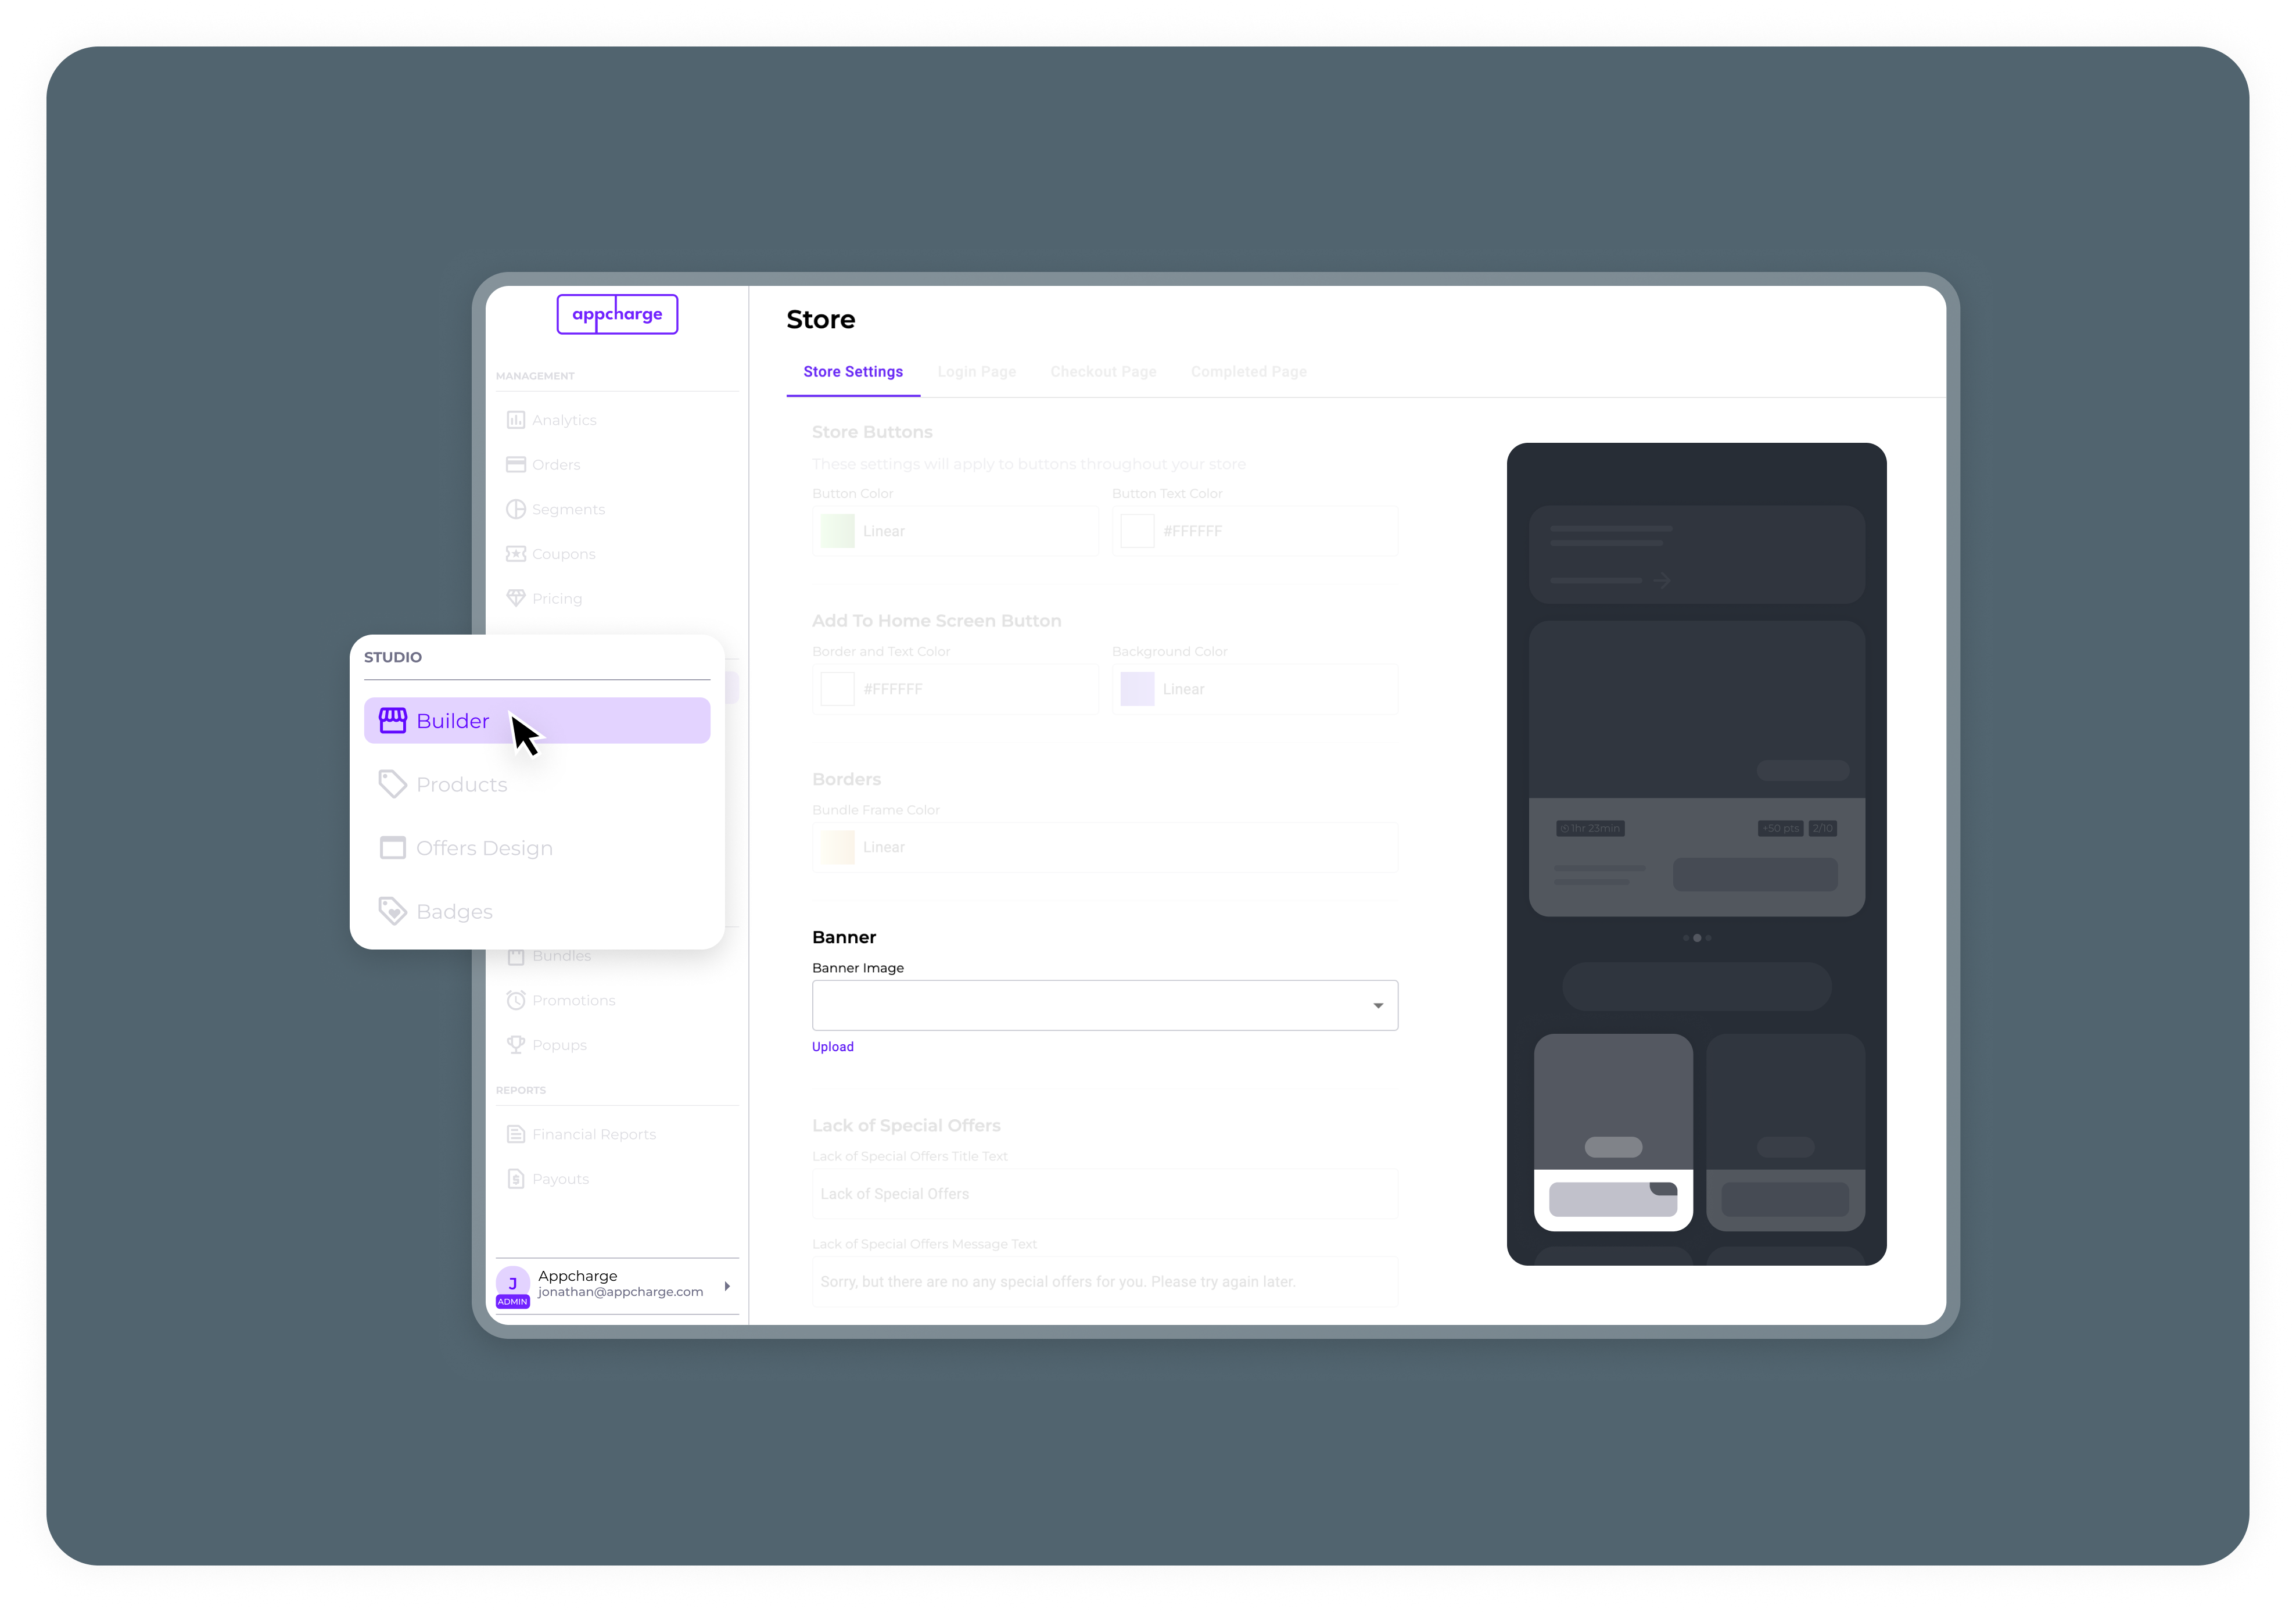
- Via the Builder Tab
- Step 1: Navigate to the Builder tab in the Appcharge dashboard.
- Step 2: Scroll down to the Banner section.
- Step 3: Select Upload to add your banner image. The image must have a 3:1 ratio.
- Step 4: Click the Save button at the top right corner of the Builder page to apply your changes.
Note: The name of the uploaded file will automatically be used as the ID of the banner. This will be thebannerExternalIdin the Personalization API.
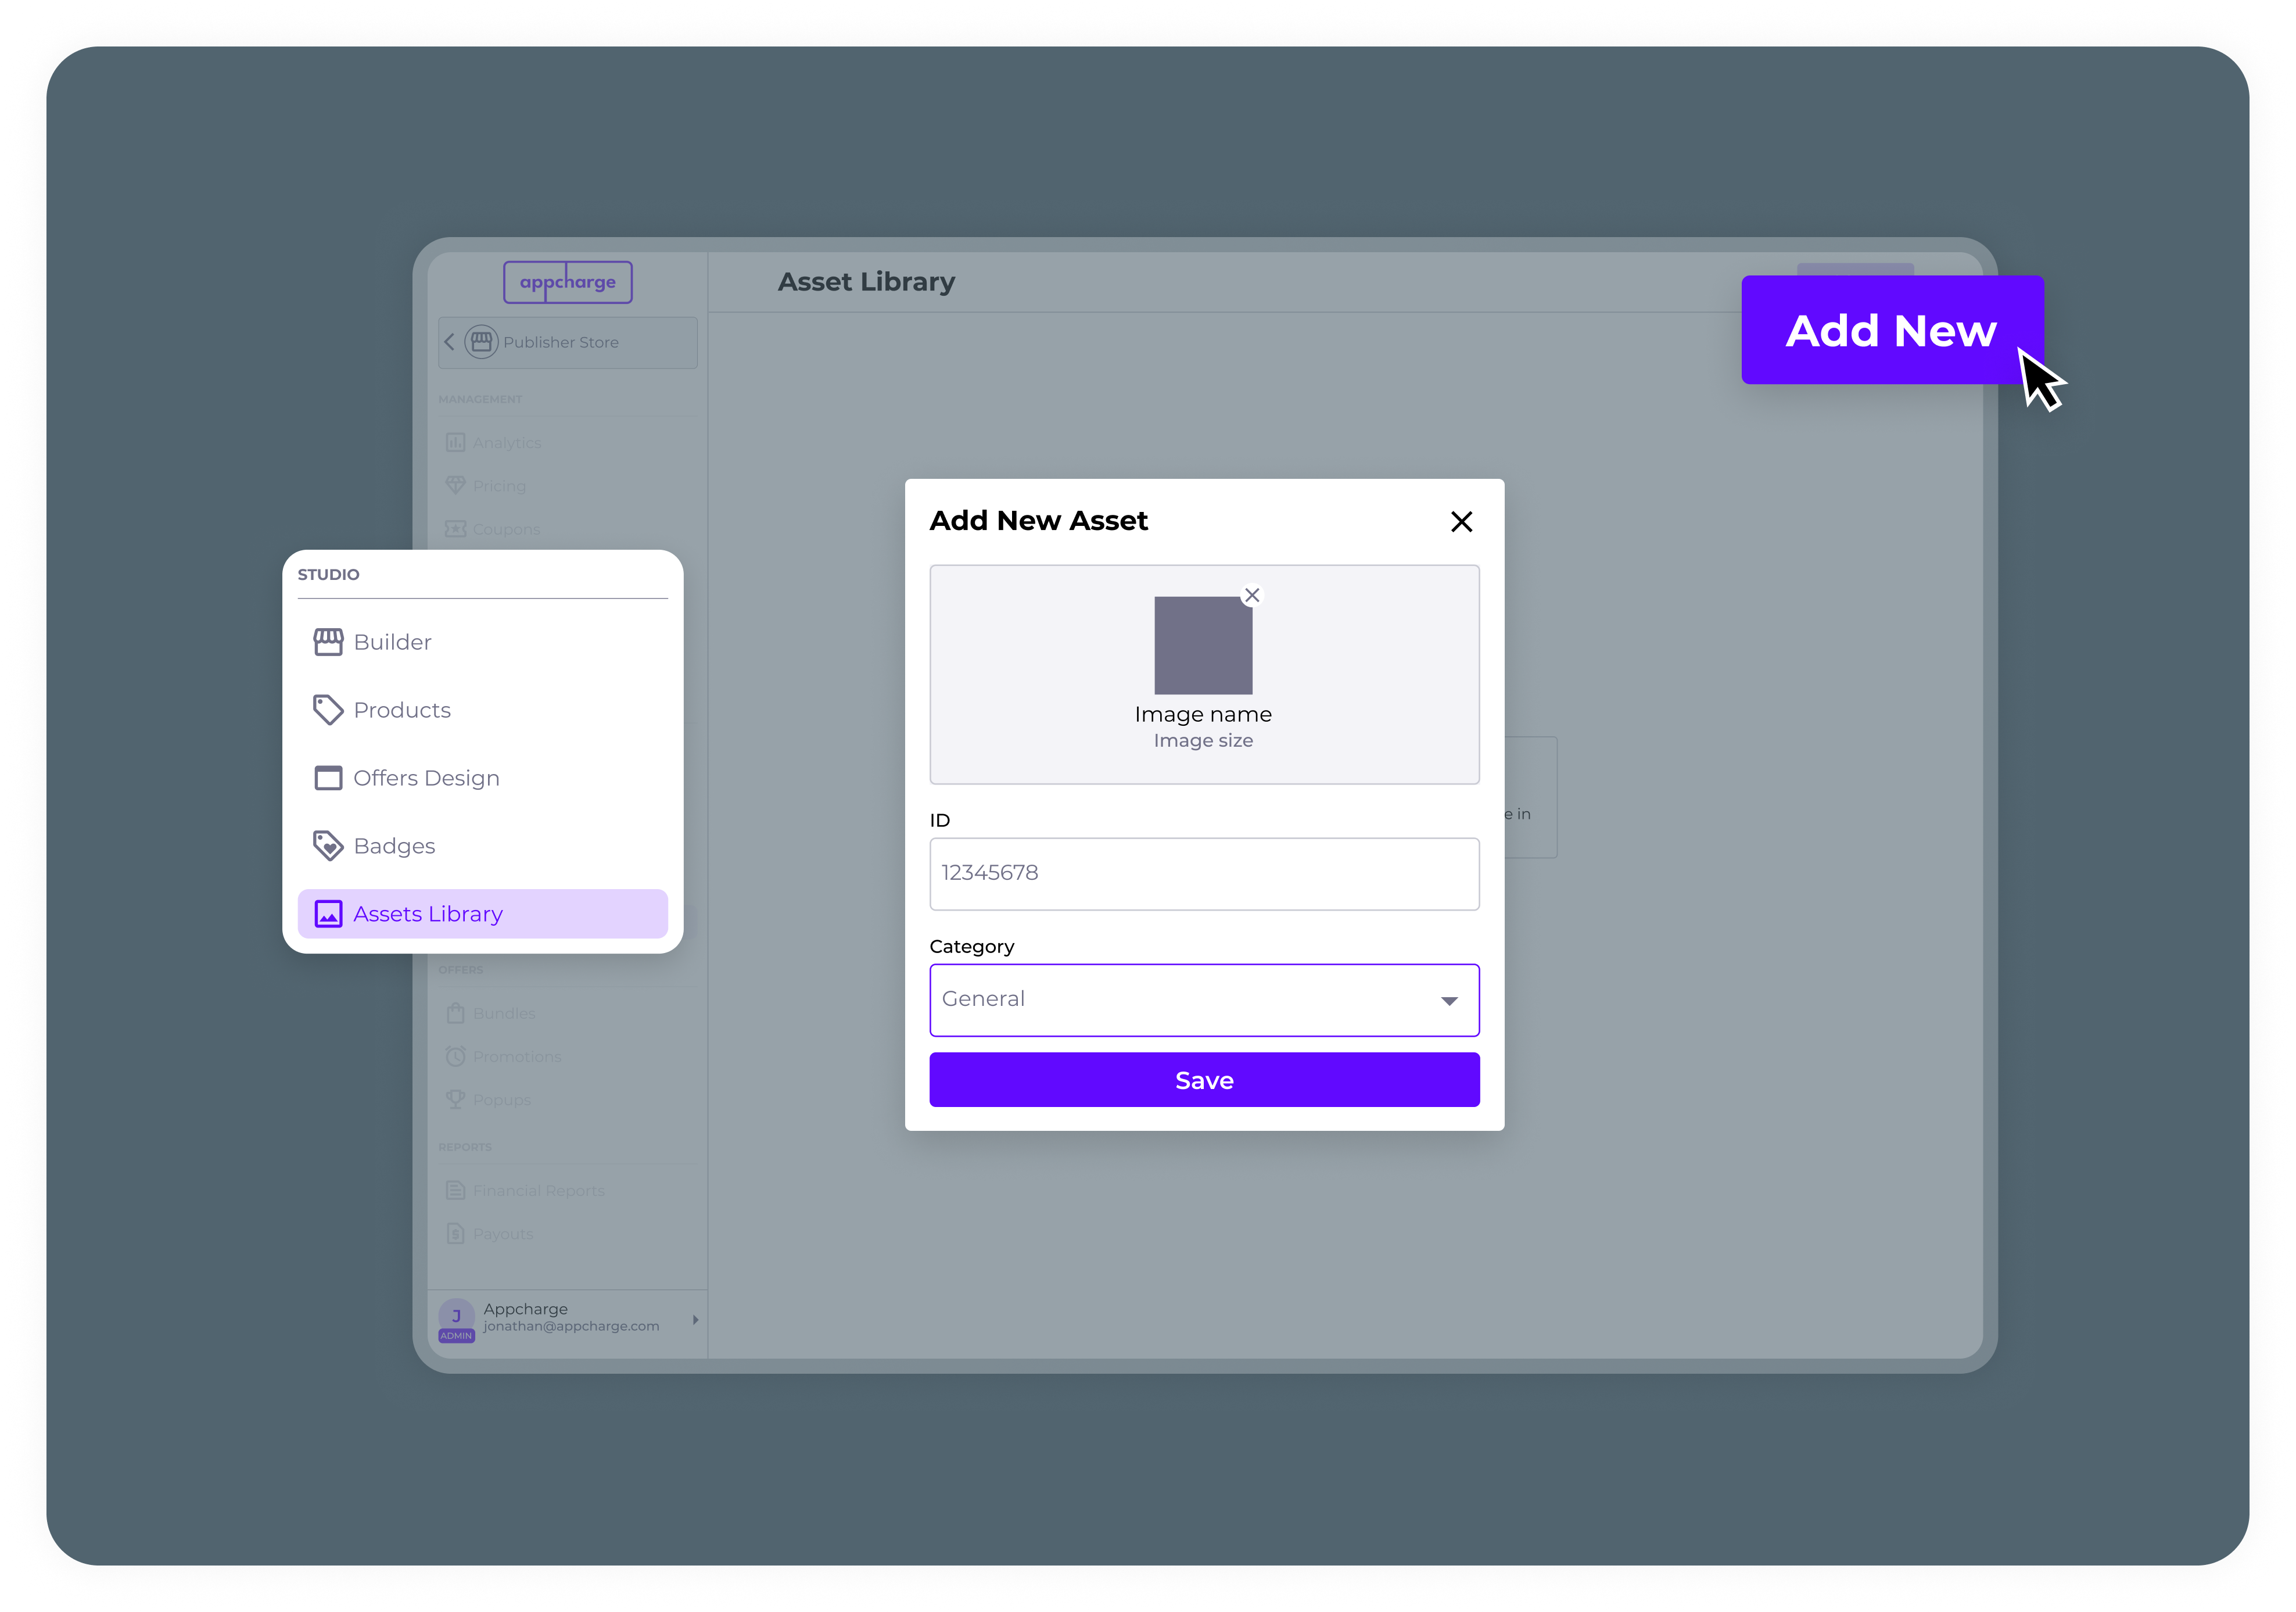
- Via the Assets Library Tab
- Step 1: Go to the Assets Library tab in the dashboard.
- Step 2: Select Upload Asset at the top right.
- Step 3: In the Add New Asset popup, upload your banner image by clicking on the upload icon. The image must have a 3:1 ratio.
- Step 4: Enter a name for your banner in the ID field.
Note: This will be thebannerExternalIdin the Personalization API. - Step 5: Choose the 'Banner' category from the Category dropdown.
- Step 6: Click the Save button in the Add New Asset popup to save your banner.
Player Level Banners
You can dynamically display specific banners to players based on their game level. This feature is not supported in all templates. If you'd like to use it, contact us for more information.
Updated 4 months ago